Compose Views With Vue Router
So far we have only one page or view that looks like this:
|--------------------------------------------|
| http://localhost:3000                      |
|--------------------------------------------|
|                    Header                  |
|--------------------------------------------|
|                |                           |
|                |                           |
|   Aside Menu   |     Main Content Area     |
|                |                           |
|                |                           |
|--------------------------------------------|
We want to change the content of the main area when we click on aside menu or input valid url like http://localhost:3000/some-page
Router or routing can help us to build a dynamic website that holds massive pages or views, and navigate us between them.
Vue Router is the official router for Vue.js. It deeply integrates with Vue.js core to make building Single Page Applications with Vue.js a breeze. -- from Vue Router introduction
Create Views
Before we config Vue Router, creating some views will help us proceed our work better.
Create views folder in src,then create file Home.vue and Dashboard.vue in views folder.
src/views/Home.vue
<template>
  <div>Home!</div>
</template>
src/views/Dashboard.vue
<template>
  <div>Dashboard!</div>
</template>
Then create settings folder in views and create file Account.vue and Notification.vue in settings.
src/views/Account.vue
<template>
  <div>Account Setting!</div>
</template>
src/views/Notification.vue
<template>
  <div>Notification Setting!</div>
</template>
Next, update menuData in src/layouts/Main.vue:
src/layouts/Main.vue
      ...
      menuData: [
        {
          key: 'home',
          label: 'Home',
          children: [],
        },
        {
          key: 'dashboard',
          label: 'Dashboard',
          children: [],
        },
        {
          key: 'settings',
          label: 'Settings',
          children: [
            { key: 'account', label: 'Account', children: [] },
            { key: 'Notification', label: 'Notification', children: [] },
          ],
        },
      ],
      ...
Now the aside menu tree match our views.We expect view components render in main area, if we click the corresponding menu.With the help of Vue Router we can achieve this later.
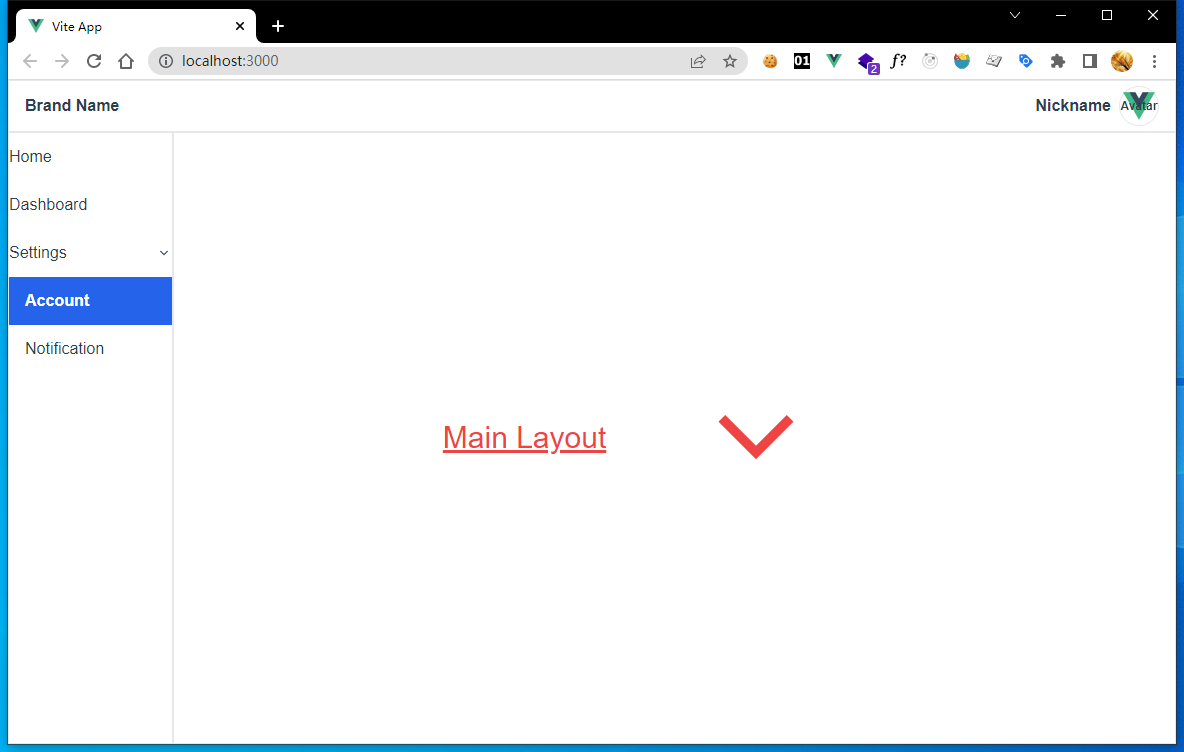
5-1
Install and Config Vue Router
We use npm:
npm install vue-router@4
create file router.js in src folder.
src/router.js
import { createWebHistory, createRouter } from 'vue-router';

const routes = [
  {
    path: '/home',
    name: 'Home',
    component: () => import('./views/Home.vue'),
  },
  {
    path: '/dashboard',
    name: 'Dashboard',
    component: () => import('./views/Dashboard.vue'),
  },
  {
    path: '/settings',
    name: 'Settings',
    children: [
      {
        path: 'account',
        name: 'Account',
        component: () => import('./views/settings/Account.vue'),
      },
      {
        path: 'notification',
        name: 'Notification',
        component: () => import('./views/settings/Notification.vue'),
      },
    ],
  },
];

const router = createRouter({
  history: createWebHistory(),
  routes,
});

export default router;
What we do here is:
- create a router instance with
createRouter, and export as default. - set
historyoption withcreateWebHistory, different history modes explained here:https://router.vuejs.org/guide/essentials/history-mode.html component: () => import()meansLazy Loading, which splits each route's components into separate chunks bundled, brings better loading time.More information aboutLazy Loadingis here:https://router.vuejs.org/guide/advanced/lazy-loading.htmlroutesoption is where we compose our route components, each route haspath,name,componentandchildrenproperty.
The structure of routes matches our menuData.
Use Vue Router Instance
Import router instance into main.js, and use it with app.use(router).
src/main.js
...
import router from './router';

...
app.use(router);
app.mount('#app');
Another important thing is using router-view to display the component that corresponds to the url.Let's edit file App.vue and add router-view.
src/App.vue
<template>
  <MainLayout>
    <h1 class="underline text-red-500 text-3xl">Main Layout</h1>
    <SvgIcon
      name="keyboard_arrow_down_FILL0_wght400_GRAD0_opsz48"
      class="text-red-500"
    />
    <router-view></router-view>
  </MainLayout>
</template>
Now if you visit:http://localhost:3000/settings/notification,you will find the text Notification Setting! display in the main area.
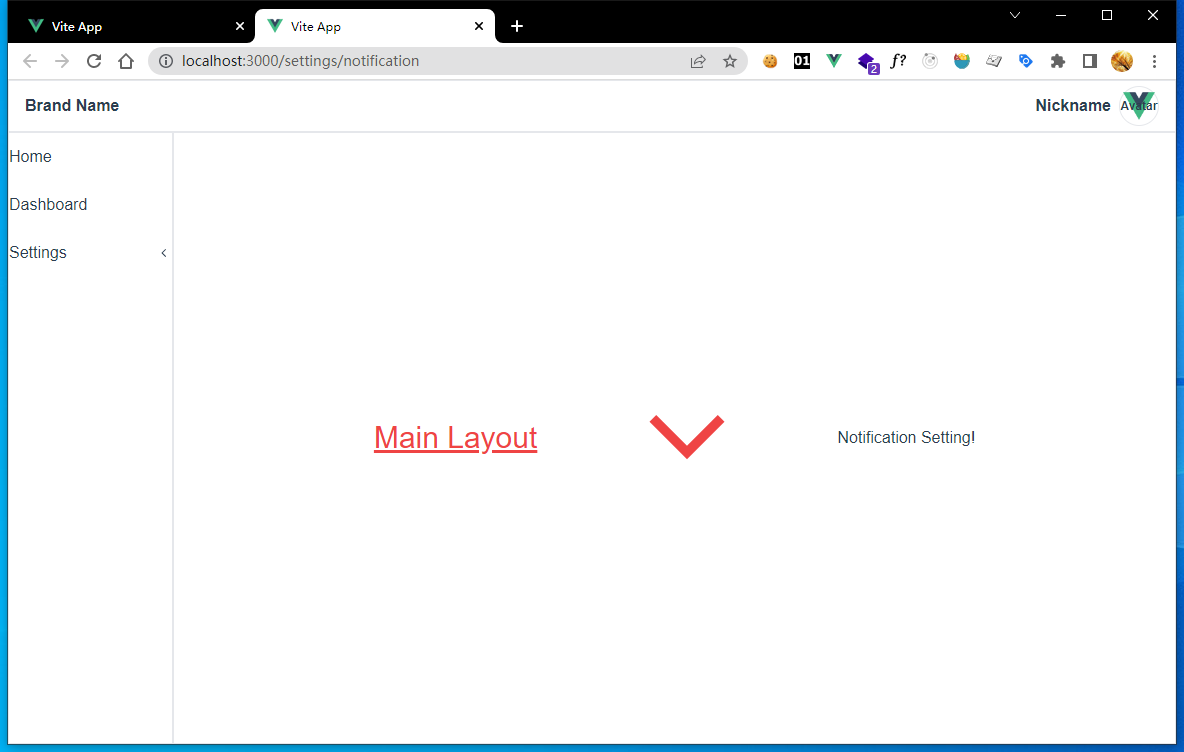
5-2
As we said before, we expect clicking aside menu can change navigation url and display corresponding view component.
Generate Aside Menu From Router
It is cool that we generate menuData from routes of Vue Router without define menuData separately and redundantly.
Let's edit file src/layouts/Main.vue.
src/layouts/Main.vue
...
<script>
...
export default {
  components: { NavBar, Menu },
  data() {
    return {
      menuData: [],
    };
  },
  mounted() {
    this.menuData = this.convertRoutesToMenuData(this.$router.options.routes);
  },
  methods: {
    handleMenuClick(menuItemData) {
      if (!menuItemData.children || menuItemData.children.length === 0) {
        this.$router.push(menuItemData.key);
      }
    },
    convertRoutesToMenuData(routes, parentNormalizedPath) {
      const parsedNodes = [];
      for (const route of routes) {
        const normalizedPath = parentNormalizedPath
          ? parentNormalizedPath + '/' + route.path
          : route.path;
        const node = {
          key: normalizedPath,
          label: route.name,
          children: [],
        };
        if (route.children && route.children.length > 0) {
          node.children = this.convertRoutesToMenuData(
            route.children,
            normalizedPath
          );
        }
        parsedNodes.push(node);
      }
      return parsedNodes;
    },
  },
};
</script>
What we do here is:
- set default value of
menuDatato[]. - add method
convertRoutesToMenuDatathat convert routes defined inrouter.jstomenuData. - set
menuDatainmountedhook with return value ofconvertRoutesToMenuData. - notice that we use
this.$router.options.routesto get raw routes. - use
$router.push()to navigate to expected route. - the condition expression
!menuItemData.children || menuItemData.children.length === 0limits that only leaf menu can result in route change, if menu has children, it just expanse or collapse.
Now run our application, click aside menus, the content of main area changes with the clicks, that's cool.
5-3
BreadCrumb Component Based on Vue Router
If aside menu data comes from Vue Router, then it is very easy to create BreadCrumb component.
Ceate BreadCrumb.vue in components folder.
src/components/BreadCrumb.vue
<template>
  <div class="text-gray-500">{{ path }}</div>
</template>
<script>
export default {
  data() {
    return {
      path: '',
    };
  },
  mounted() {
    this.setPath(this.$route);
  },
  watch: {
    $route(to, from) {
      this.setPath(to);
    },
  },
  methods: {
    setPath(route) {
      const labels = route.matched.map((r) => r.name);
      this.path = labels.join('/');
    },
  },
};
</script>
The magic here is route.matched, store all matched parent routes of current route.Then we can simply concat their names as BreadCrumb.
Next, import BreadCrumb into App.vue.
src/App.vue
<script setup>
import MainLayout from './layouts/Main.vue';
import BreadCrumb from './components/BreadCrumb.vue';
</script>

<template>
  <MainLayout>
    <div class="flex w-full h-full flex-col p-4 gap-4">
      <BreadCrumb class="font-bold border-b"></BreadCrumb>
      <div class="flex">
        <router-view></router-view>
      </div>
    </div>
  </MainLayout>
</template>
...
Here we remove unused h1 and SvgIcon and add some layout divs and classes .
Now the rendered page will look like this, if you click aside menu, browser navigation url changes, content of main area changes, and BreadCrumb changes too.
5-4